This section was very much “what if”. I enjoyed using various items some of which are perhaps unusual and for manipulating the fabric tried PVA, polyfilla, paverpol and water soluble that has not been washed out completely.
Here is a selection– all painted with acrylic to give plain finish to provide texture and relief:

3.1 Clockwise: cut sticky squares; corrugated card; pleated tissue and scrunched tissue
3.2 
Cut out card shapes; broken eggshells

3.3. Dried melon pips covered with tissue paper

3.4 Onion slices covered with tissue paper

3.5 Onion skins

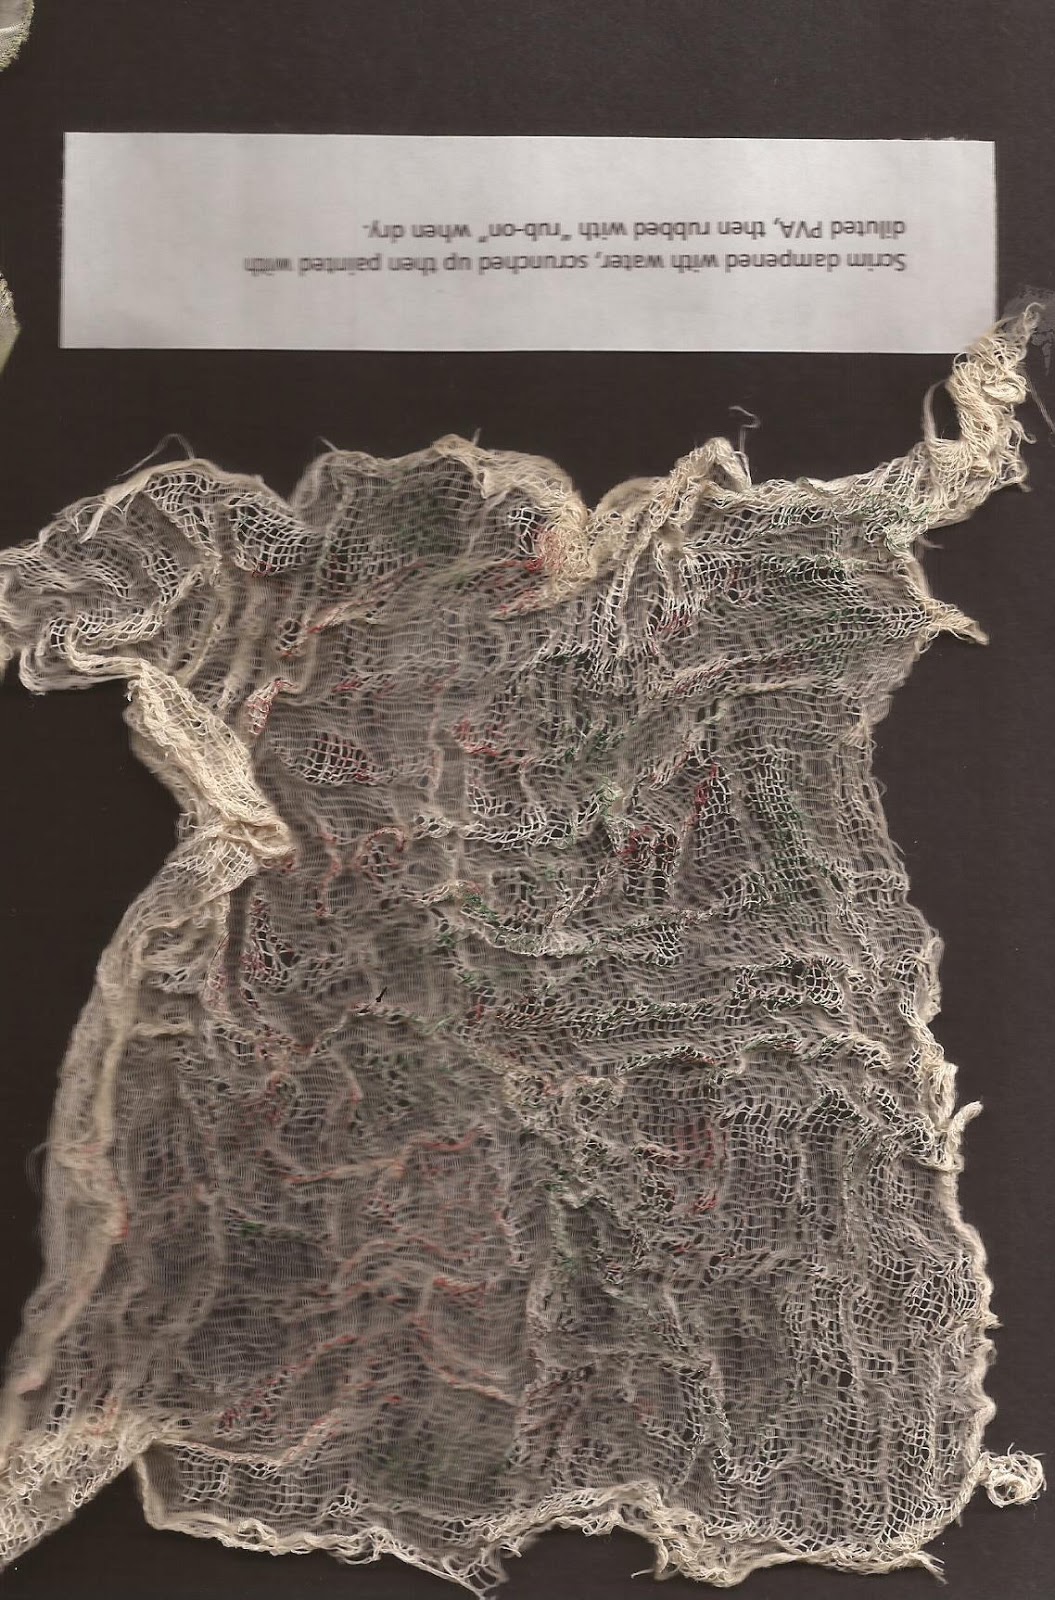
3.6 Clockwise: acrylic emulsion painted onto card then drawn into with the edge of a piece of card; acrylic emulsion painted on then “pulled up” like rough icing; open weave fabric; scrim strips
3.7 Using glue gun squeezed onto freezer paper. If using a hot glue gun this is done onto water. The shape can be more formal and can be stitched into/over to apply to fabric.

3.8 Modelight: a commercially available modelling paste that has had moulds pressed into it then painted. When dry it can be applied to fabric and stitched.

3.9 Xpandaprint: another commercially available paste similar to modelight in use but is a softer “paint on “ paste which is heated with a hot gun to expand giving a raised texture surface. This can be stitched and painted.

3.10 Fingals cave using corrugated card

3.11 Fingals cave using scrunched, torn and pleated tissue
The following three pictures are the original drawings or photo used for designs previously sent.
1. Line drawing of the gateway at Urchfont

2. Photograph of gateway in Bharatpur

3. Photograph and drawing of Church doorway – Tobermoray

1a Trerice House – I took this picture of the front of the house and picked out the doorway lintel shape and shape of the window arches and a close up of one of the door bosses with a drawing.

Shape cut out of sponge and printed then overprinted with the outline
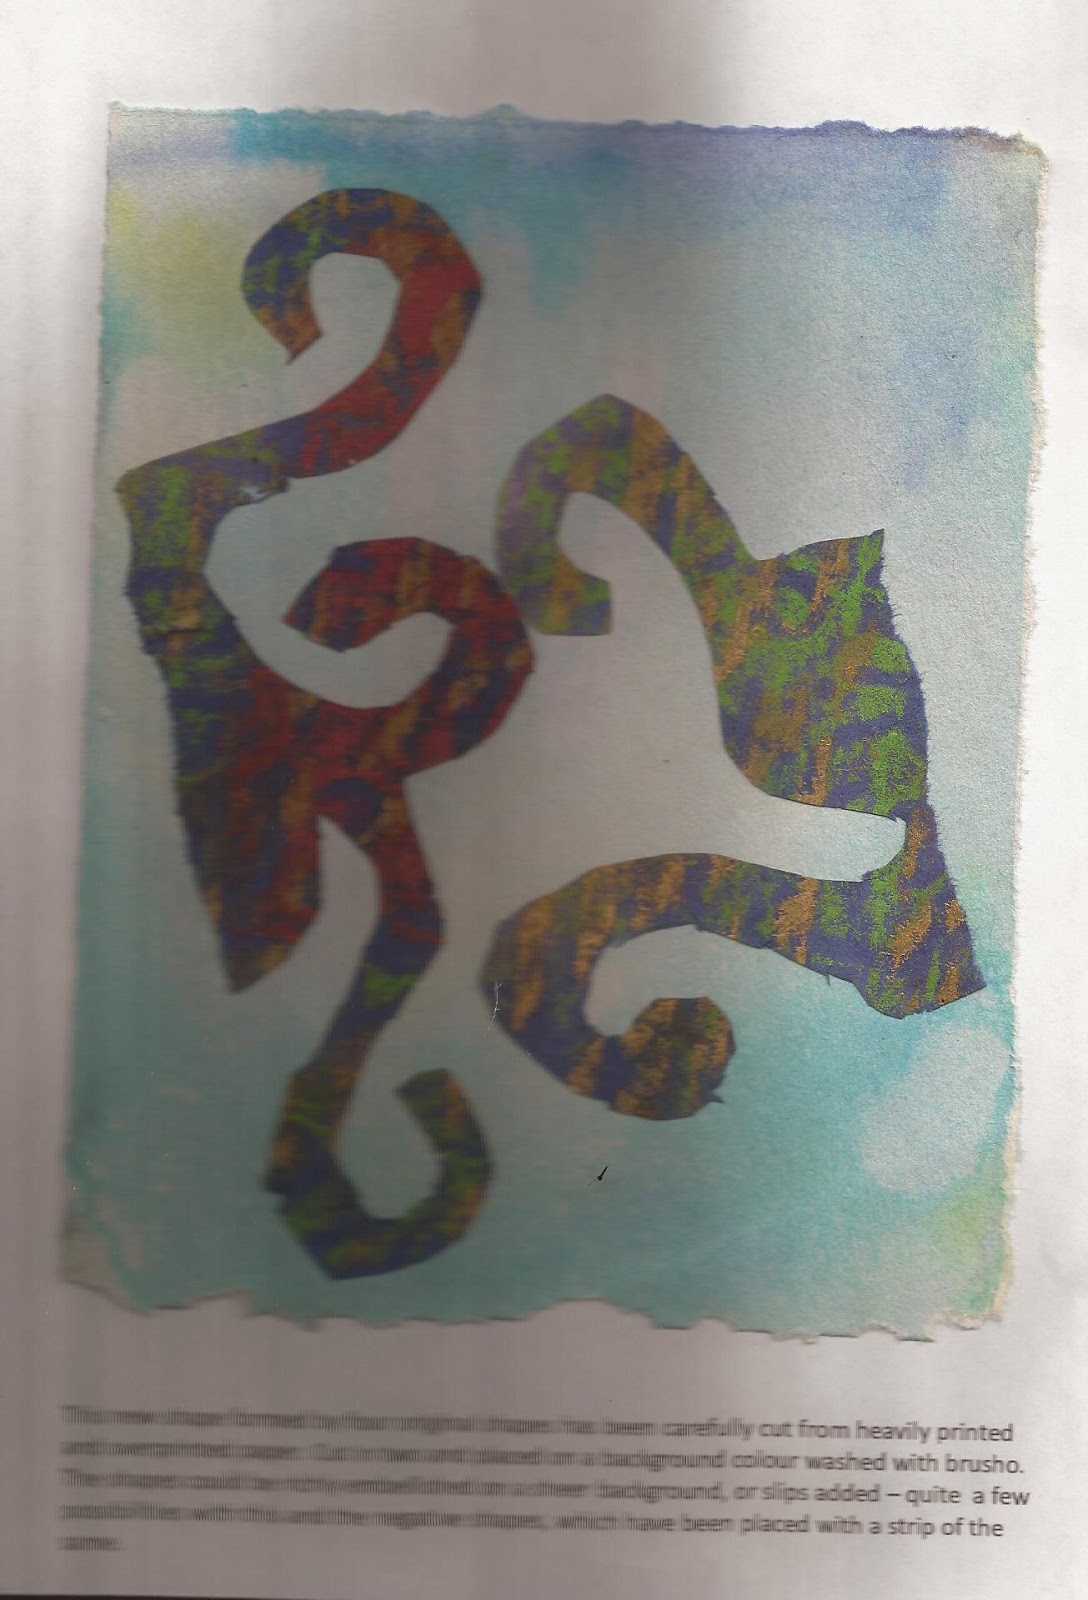
Positive and negative shapes cut and pasted – could be a starting point for reverse applique or Mola work

Joining the outlines and filling the shapes with ideas for machine embroidery
2a. I couldn’t resist Traitor’s Gate and added text to tea stained background with the picture mounted on top; a useful technique I thought for a memory book or wall hanging. Also my painting with stencilled text.


3a I felt very inspired by FIngal’s Cave, an amazing atmospheric place

A close up of the rock strata and structure just had to be interpreted into manipulated tissue (fabric)


For these two collages I printed music and added cut up pictures and printed the picture and geological detail text onto tissue


4a Books - gateway to learning, the original print and graphite stick drawing

5a I love the shapes and colours of the doorways I saw in India


6a This is a close up of a section of wall with a design of the positive and negative shapes.